How to Test Drinking Water at Home (and What Tests Miss)
Quick answer: can you test drinking water at home?
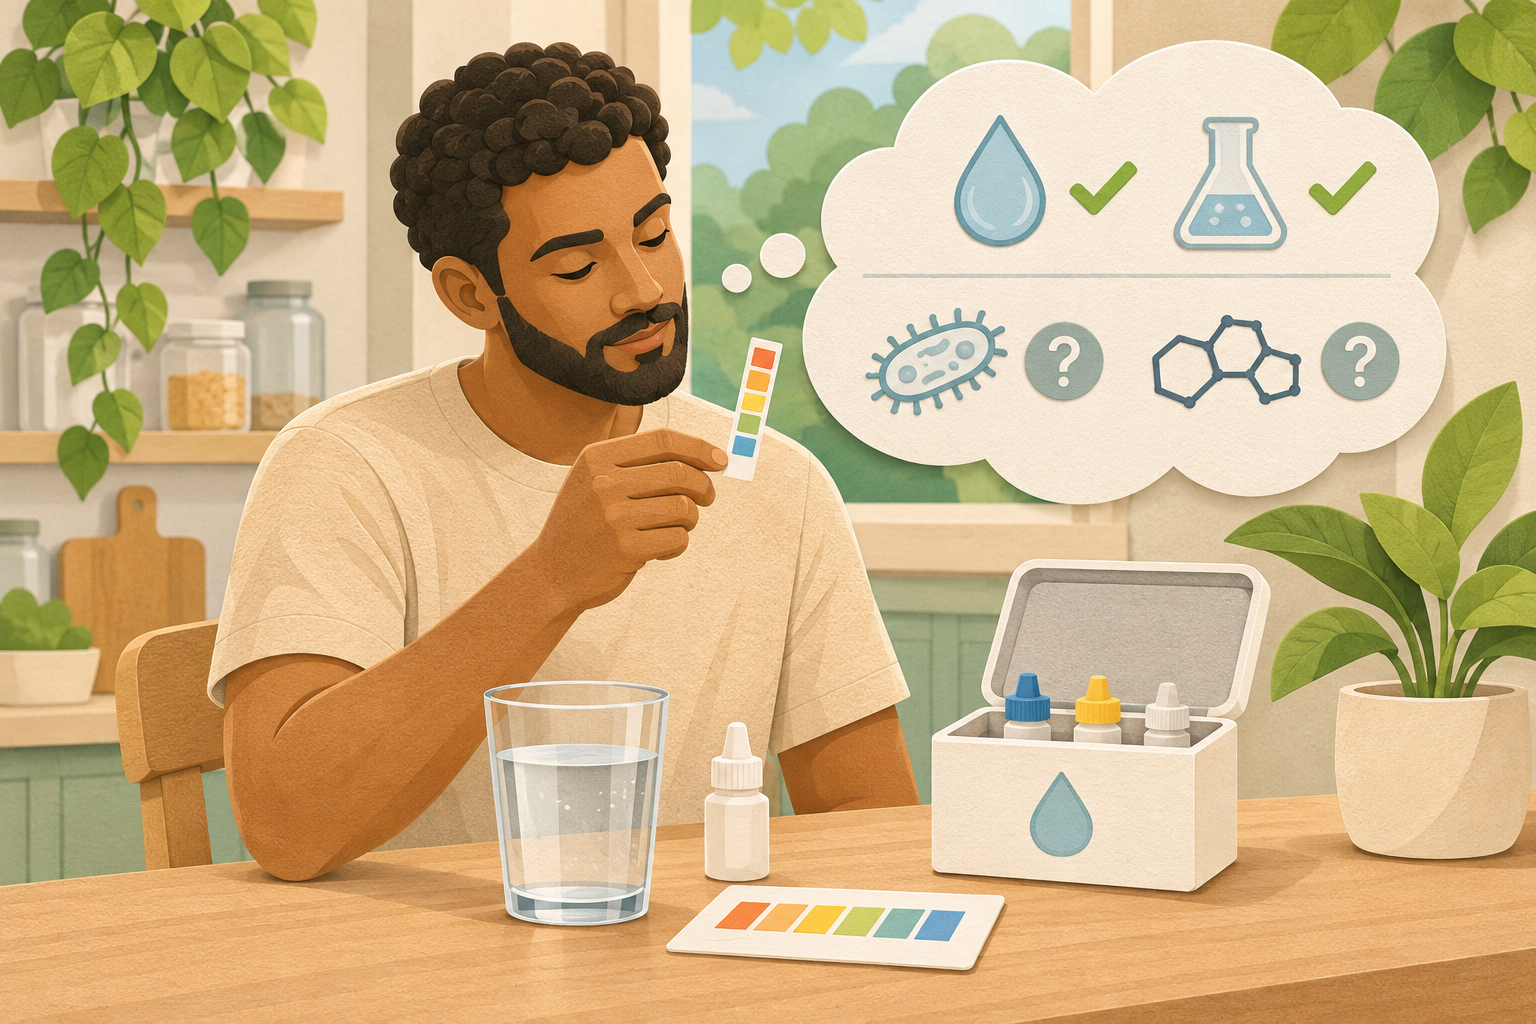
Yes, you can test certain properties of drinking water at home: things such as pH, hardness, chlorine and changes in dissolved mineral content. But no, a home test strip cannot tell you that every possible contaminant is absent. If you are checking an untreated spring, well, borehole or rainwater supply for drinking, proper sampling and accredited laboratory testing are important.
Buying a filter because it says pure on the box is a bit like buying gym equipment because the person in the advert has abs. I don’t know about you, but I’d want a little more information.
Introduction answer
Knowing your starting water tells you what could affect it and, in turn, how to treat it.
Ask sensible and realistic questions. What could reach it? Is there farming upstream? Can floodwater get in? What is the collection roof made from? How well is the spring protected? Does your tap water have an off smell to it?
Start there, because every bit of contamination you prevent is something your filters don’t have to deal with later. Then test the water to find out what’s present and how much of it there is.
When it comes to my day-to-day, it’s the same reason I want to understand someone’s starting point before writing their training programme. Otherwise, we’re making a plan for a person we haven’t met. Here, we’d be buying treatment for water we haven’t understood.
So what are we looking for?
There are chemical contaminants, biological contaminants, sediment and the ordinary chemistry of the water itself. Depending on the source and location, we may need radiological testing too.
Chemicals might include unwanted concentrations of lead, arsenic, nitrate, pesticides, solvents or PFAS (i.e. per- and polyfluoroalkyl substances, which are a large family of thousands of man-made synthetic compounds, also known as “forever chemicals”).
Biological hazards include disease-causing bacteria, viruses and parasites.
Sediment affects clarity and treatment performance.
Hardness, salinity, pH and alkalinity describe different parts of the chemistry.
·Microplastics and nanoplastics deserve attention too. Suitable particle and membrane treatment can reduce plastic particles. We still need evidence for the equipment and particle sizes involved, rather than a promise that every last particle has disappeared.
Remember: Hard water isn’t automatically contaminated. Clear water isn’t automatically safe.
This is where our test kit starts earning its place.
Test strips, individual kits and meters can help build a picture of the water and spot certain changes. You don’t have to become a chemist to understand their purpose. You do need to know which question each tool can answer.
Multi-parameter strips: quick checks of chlorine, hardness, alkalinity and pH within the kit's stated range.
Individual chemical tests: test for substances such as nitrate, nitrite or arsenic, but check the detection limit before relying on a result.
Turbidity meter: helps track cloudiness and whether particle treatment is working.
Conductivity/TDS meter: tracks changes in dissolved ionic content and can help monitor RO performance. It is not a heavy-metal safety test.
pH meter and alkalinity test: reveal different aspects of water chemistry and stability.
Petri-dish culture: may show certain microorganisms growing under the test conditions, but cannot establish that drinking water is microbiologically safe.
An appropriately accredited laboratory is the stronger option when you need to establish whether a private supply is safe to drink. Home kits are useful screening tools, but they do not prove that water is free from dangerous bacteria, viruses or chemicals. Some contaminants cannot be reliably detected with a quick strip or a petri dish in the kitchen.
There's also a final point we haven't touched on yet.
Don’t forget how you store it
After you’ve gone through the job of making sure your water is good and healthy to drink, you need to store it properly. Otherwise, all your hard work will be in vain. Just as it doesn't make sense to store your water in a dirty bottle, it doesn't make sense to store your water in a dirty container. Especially when it's likely to be in here for a much longer period of time. In this environment, bacteria can re-emerge and contaminate your water; even sunlight can accelerate microorganism growth, such as algae or cause chemicals to leach into the water. So ensure you store your water correctly!
Test at three stages: before, during and after
Before treatment: get to know your starting point
Test the source so you know what needs addressing. Think about what happens after rainfall, during dry weather or when the surrounding land use changes. The spring you visit on a dry afternoon may face a different challenge after a downpour. Are there massive amounts of limescale after boiling water in the kettle?
During treatment: check that the equipment is doing its job
Pressure readings can help you spot a blocked filter. Turbidity and UV monitoring help show whether conditions are right for disinfection. Comparing conductivity before and after RO (reverse osmosis) helps track the membrane’s performance.
If carbon is protecting a chlorine-sensitive membrane, the chlorine test needs to detect levels low enough for that membrane’s feed-water limit; otherwise, the carbon filter isn't doing its job. A broad test that misses a small but important change won’t give you the answer you need.
After treatment: check what actually reaches the glass
Take samples after storage and at the tap, where people will drink it. Confirm the relevant chemical levels and microbiological quality. This is the point of all the effort: knowing the finished water is suitable, rather than simply watching it come out looking clearer.
Then keep checking. There is no universal rule that every home needs a complete laboratory test once a month. The sensible schedule depends on your water source, what the initial results show, the equipment you use and any regulatory requirements. If there are changes, investigate further, especially after flooding, repairs or extended shutdowns.
What I'd do first if I had concerns about my tap water
For a UK mains supply, I would start by looking up my supplier's local water-quality report. If I noticed a new strong smell, discolouration or an unusual taste, I would contact the supplier. If I suspected the building had old lead pipes, I'd ask specifically about that rather than ordering a random 'everything' kit online.
For a private water source, I'd involve the local authority and an appropriately accredited testing service. Raw water that looks crystal clear can still contain dangerous microorganisms.
Think of home tests as a way of getting more informed, not a substitute for proving something is safe to drink.
Next in the series: Which Water Filter Do You Need? Once we know what needs addressing, we can choose a filter that actually has a job to do.
Your challenge
Write down the one question you want your water test to answer. If the answer could affect safety, find out who can test it properly before buying a random kit.
Until next time,
Ash – The Health Coach
Get Health. Heal Trying.
Sources & Further Reading
DWI: Water Testing
https://www.dwi.gov.uk/water-testing/
DWI: Analytical Services
https://www.dwi.gov.uk/private-water-supplies/local-authorities/analytical-services/
WHO: Microplastics in Drinking Water
https://www.who.int/publications/i/item/9789241516198


